How to Build a Raised Garden Bed Under $50 (Step-by-Step Tutorial)
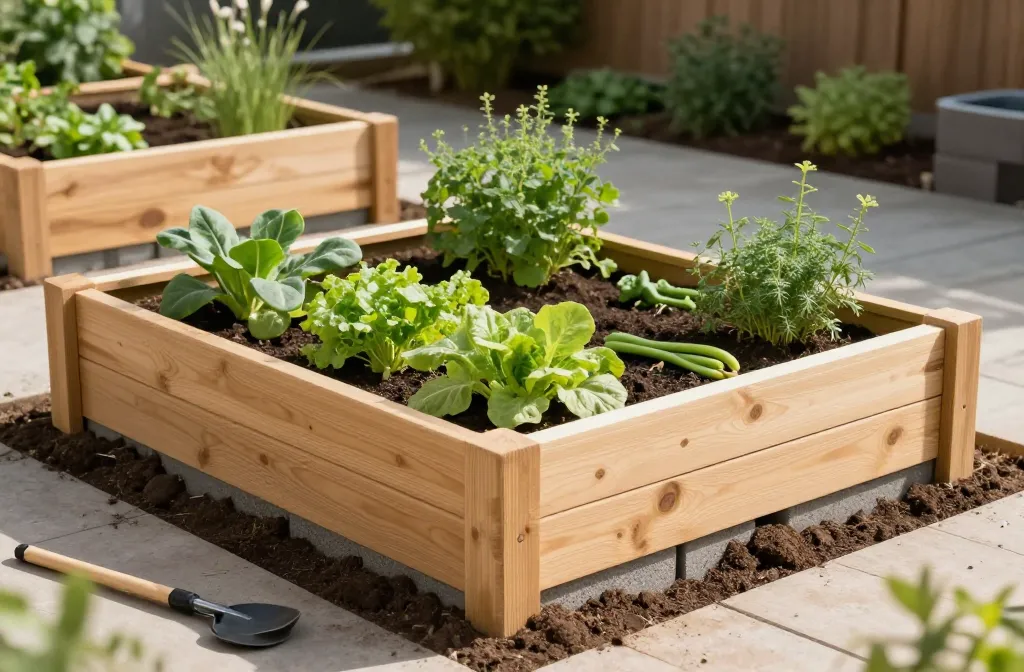
I’m not going to pretend this is rocket science. A raised garden bed under $50 is totally doable, and you can start today. We’ll keep it simple, practical, and a little snark-free—mostly because your plants deserve decent housing too.
Why a Raised Bed (Without Blowing Your Budget)
Raised beds are like the tiny houses of gardening: easier on your back, better drainage, and cleaner harvests. Plus, they keep weeds at bay and let you tailor soil exactly to your veggies. FYI, you don’t need fancy lumber or a big loan to get started. A few thrift-store finds and a dash of DIY spirit will do the trick.
Plan Your Bed: Size, Location, and Materials
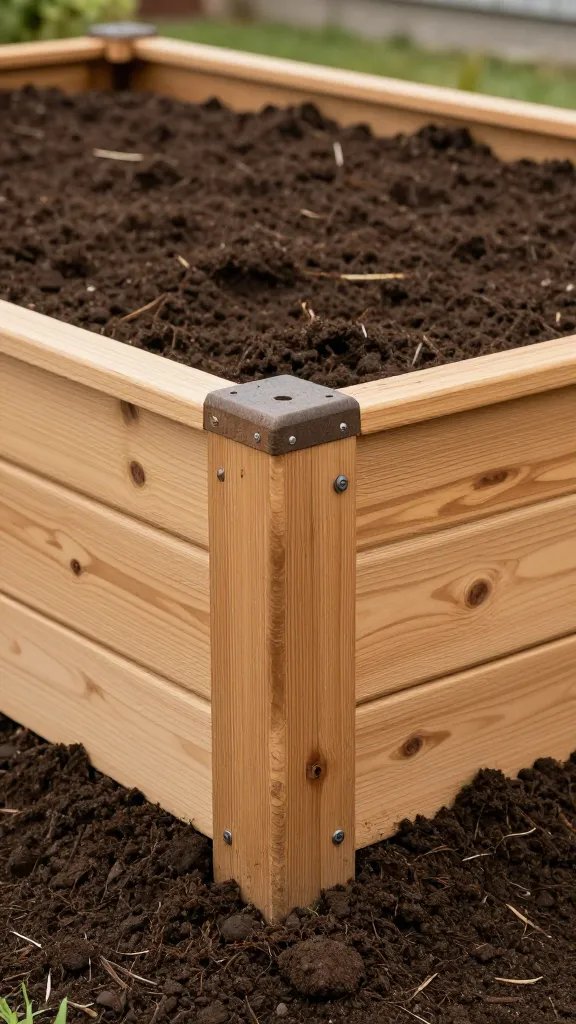
– Pick a spot that gets at least 6-8 hours of sun a day. Your tomatoes, peppers, and herbs will thank you.
– Size it for flexibility. A common starter size is 4 feet by 8 feet, but keep it to easy reach from both sides—3 feet wide is ideal so you don’t trudge halk-mile-around.
– Choose a low-cost frame: upcycled materials or basic pine boards work fine. If you need to stretch your budget, consider cinder blocks or pallet wood (make sure they’re safe for gardening).
– Soil matters. Plan for a soil mix that’s roughly 60% good topsoil/compost, 40% chunky organic matter, and a little perlite or sand for drainage.
Materials List: What You’ll Need (Under $50)
- Wood or brick/pallet alternatives for the frame
- Landscape fabric or cardboard (to suppress weeds from below)
- Soil mix: topsoil, compost, and a little composted manure if you can find it
- Optional: hardware like screws or brackets for reinforcing corners
- Mulch or straw to top off and conserve moisture
Step-by-Step: Assemble Your Frame
- Measure and cut (or imagine cutting) your boards to fit your chosen dimensions.
- Lay down a weed barrier in the planting area to keep future weeds at bay and improve drainage.
- Secure the frame together with screws or brackets. You want a sturdy box, not a wobbly sandbox for plants.
- Double-check levels. A wonky bed will give you drama with plant growth—nobody needs drama in the garden.
Fill It Up: The Soil Mix That Won’t Break the Bank
Skip the fancy “garden in a bag” if you’re on a budget. You can DIY a solid medium that drains well and feeds plants. Aim for about two-thirds rich compost and topsoil, with one-third peat-free potting mix or perlite for aeration. If you can find aged manure or worm castings, tuck them in sparingly for a nutrient boost. Moisture matters; don’t pack it like a brick—crumbly, not compact.
Subsection: Layering for Success
Layering helps your bed perform from day one. Start with a thin layer of coarse material (like shredded leaves) to improve drainage, add your soil mix, then top with a lighter mulch. That mulch will help retain moisture and keep weeds quiet.
Planting Plan: What to Put In First
If you’re new to this, start with a few hearty, easy-growing crops. Think lettuce, radishes, bush beans, spinach, and herbs. They’re forgiving, quick to show results, and perfect for a first-timer’s bed. FYI, succession planting keeps the harvest coming all season long.
Starter Crops by Season
- Spring: lettuce, spinach, radishes, peas
- Summer: bush beans, tomatoes (in a deeper bed), peppers, basil
- Fall: kale, chard, broccoli, cilantro
Watering and Maintenance on a Budget
Poor watering is the fastest way to sabotage your bed. Set yourself up with a simple plan:
- Water deeply, but not daily. Let the soil dry a bit between waterings to prevent root rot.
- Mulch, mulch, mulch. A layer of straw or shredded leaves reduces evaporation and keeps weeds down.
- Check for pests the friendly way—hand-remove or swap in row covers if you’re seeing critters getting bold.
DIY Irrigation on the Cheap
Use a soaker hose or a drip line system if you can. It saves water, targets the roots, and doesn’t turn your bed into a mini-river after a storm. If you don’t have a hose bib nearby, a simple watering can with a fine rose also does the trick—just be prepared for a little elbow grease.
Maintenance Hacks to Keep It Under $50 Forever
Yes, you can maintain a thriving bed without sinking more money into it than you earned last month. Here are a few tricks that work:
- Replenish soil gradually with compost as you harvest. You’ll be amazed at how quickly nutrients rebuild.
- Share cuttings and seedlings with neighbors or swap plants at a local gardening group. It’s networking, but with tomatoes.
- Rotate crops each year to prevent soil-borne diseases and keep things fresh.
Common Pitfalls (And How to Avoid Them)
The cost-nuking mistakes are mostly self-imposed. Here are the big ones and how to dodge them:
- Overfilling with heavy soil. Heavy soil plus a tall bed = backache. Keep it balanced.
- Neglecting drainage. If water sits, roots suffocate. Add drainage space and compost that drains well.
- Forgetting to mulch. It’s the cheapest weather-proofing you’ll find.
FAQ
Can I really build a bed under $50?
Absolutely. With thrift-store finds, pallets treated for outdoor use, or even repurposed bricks, you can keep the cost well under 50 bucks. Your main investment is soil, which you’ll replenish over time with compost and mulch.
What’s the best wood for a low-budget bed?
Untreated pine or cedar works well if you’re aiming for cost-effectiveness. If you’re worried about rot, line the inside with landscape fabric or use bricks/cinder blocks. FYI, avoid treated wood that’s not garden-safe for long-term planting in contact with soil.
Do I need a fancy irrigation system?
Nope. A simple soaker hose or a drip line does the job. If you can’t install one, a regular watering can with a steady routine still keeps plants happy. IMO, it’s about consistency more than gadgets.
How do I prevent weeds without breaking the bank?
Lay down weed barrier or cardboard before you fill the bed, then mulch heavily. Mulch suppresses weed growth and preserves moisture, which reduces the time you spend battling greens that aren’t your plants.
What crops should I start with for quick wins?
Leafy greens (lettuce, spinach), radishes, and beans tend to give fast results. They’re forgiving and great for beginners. If you want a quick harvest, go for lettuces that are baby-sized and all at once.
Conclusion
There you have it: a thriving raised bed that costs less than a fancy grocery run. With a little planning, some DIY elbow grease, and smart material choices, you can grow a season’s worth of produce without breaking the bank. So grab your tools, raid the bargain bin, and get your hands dirty—you’ve got this. IMO, the first harvest is basically the garden’s way of saying “you did good.”