How to Build a Simple 2×4 Outdoor Bench for Under $35 (Beginner Plans)
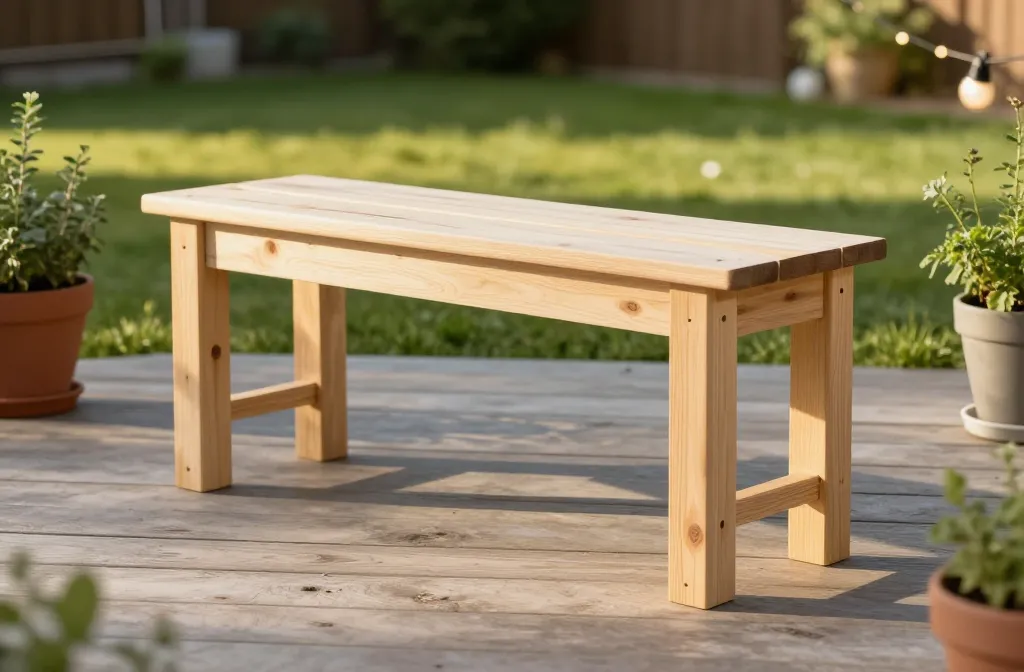
If you’re itching to upgrade your patio without breaking the bank, this little 2×4 bench is your new best friend. It’s sturdy, simple, and finished in under a weekend. And yes, you can actually do this without a fancy workshop or a lifetime supply of tools. Let’s keep it friendly, affordable, and totally doable.
Why a 2×4 Outdoor Bench is a Smart First Build
This isn’t any bench fluff. A 2×4 frame gives you real strength, while staying light enough to move around if you decide to shuffle your seating game next season. It’s also budget-friendly, with most materials ticking under $35 if you shop smart. FYI, you’ll learn a few essential shop skills along the way—measuring twice, cutting once, and not crying over a splinter or two.
What You Need to Gather (Shortcut Shopping List)
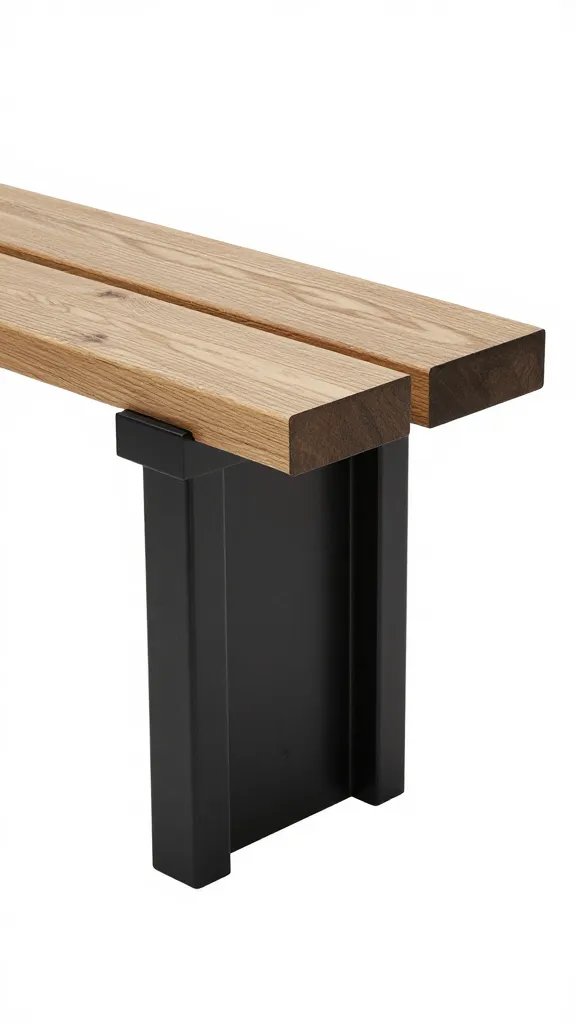
– Materials:
– 4 pieces of 2×4 lumber cut to about 28-30 inches for the seat supports
– 2 long 2x4s for the sides (roughly 28-30 inches each)
– 4 short 2x4s for cross supports (about 12-14 inches)
– 2-3 deck screws per joint (3-inch exterior-grade is nice)
– Exterior wood glue
– Sandpaper (120-180 grit) and a light finish or outdoor sealant
– Tools:
– Tape measure, carpenter’s pencil
– Hand saw or circular saw
– Drill with driver bit
– Clamps (optional, but amazing)
– Square or a good guess if you’re feeling fancy
– Tip: Look for reclaimed 2x4s for extra savings. Just check for rot or cracks and reject anything questionable. You’ll still get a rock-solid bench.
How to Sketch a Simple Plan (No Art Degree Required)
Before you cut, map out a quick plan:
– The legs: two 28-30 inch sides
– The seat rails: two 28-30 inch pieces
– The cross supports: four short pieces to connect the legs
A basic frame is basically two rectangles joined by cross pieces. If you’re unsure, draw a tiny rectangle on paper and label what each line represents. Then pretend you’re giving directions to your future self who forgot everything about math.
Assembly Flow: Step-by-Step (Wake Up, It’s Bench Time)
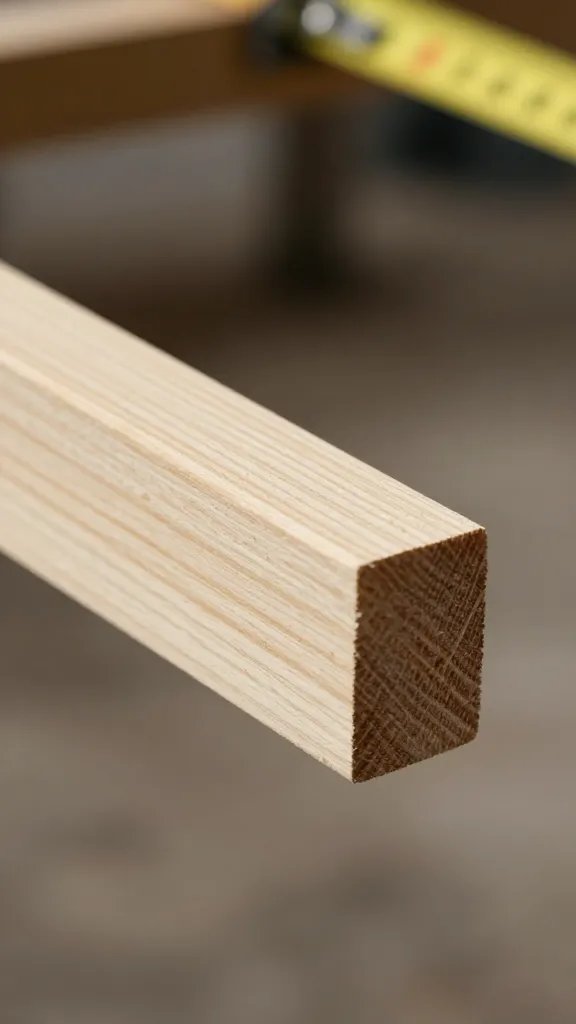
– Step 1: Sand and prep
Lightly sand all pieces so nothing catches. A quick wipe-down with a damp rag removes dust—your future finish will thank you.
– Step 2: Build the side frames
Lay two long 2x4s for each side. Use the short cross supports to create a rectangle on each end. Apply a dab of wood glue at the joints, then screw through the long piece into the cross piece. You’re basically making two “U” shapes.
– Step 3: Connect the sides
Stand the two side frames upright and align them parallel. Install the seat rails across the top using screws from the inside of each side. A square or careful eye can help keep things level.
– Step 4: Add the seat
Place the remaining 2×4 across the top between the two sides to form the seat. Feed screws in from beneath so the heads are hidden. If you want a bit of extra comfort, you can space the slats with small gaps.
– Step 5: Final touches
Lightly sand any rough edges. Wipe clean again and apply your outdoor sealant or stain. IMO a light weatherproof finish makes a big difference, even if you’re no Lin-Manuel of carpentry.
Make It Last: Basic Outdoor Finish Tips
– Use exterior-grade screws to resist rust. It saves you from those “squeaky hinge” moments you didn’t sign up for.
– A light sealant goes a long way. Splash on two coats, with a dry time in between.
– If you’re nervous about rot, add a tiny bead of outdoor silicone at joints to seal gaps. It’s like giving the bench a tiny umbrella.
Styling It Up: How to Make It Your Own
– Pick a color you actually want to see every day. A simple paint or stain can transform the look.
– Add cushions or a slim outdoor pillow for comfort. They’re easy to swap out when seasons change.
– Throw a small planter next to it or use the bench as a staging spot for drinks at gatherings.
Common Mistakes (So You Don’t Do Them)
– Skipping the glue. Glue plus screws = a much sturdier bench. Don’t skip glue unless you’re in a rush.
– Cutting too aggressively. Double-check your measurements. It’s far easier to trim a hair than fix a too-short piece.
– Ignoring rain exposure. If you live in a wet area, consider sealing all sides and ends to keep water out of the wood layers.
Variations to Try Later (If You Want to Level Up)
– Add a backrest with a simple slat design. It’s extra comfy and keeps you from sliding off on windy days.
– Build a matching outdoor table for a full seating area. It uses the same basic pieces but adds a few extra boards.
– Upgrade to pressure-treated pine for extra longevity. If you do, plan for a longer finish time so it soaks up the sealant properly.
FAQ
Is a 2×4 bench really sturdy enough for everyday use?
Yes. A properly screwed and glued frame using exterior-grade fasteners will hold up as long as you keep the joints clean and the finish intact. If weight concerns you, you can always add a couple extra cross supports or go a touch heavier with the boards.
How long does it actually take to build this?
If you’re taking your time and staying methodical, you’ll finish in a day or weekend. A few hours on a Saturday, a little more on Sunday, and you’re good to go. FYI, you’ll probably chat with your neighbor about it at least twice.
What finish should I use for outdoors?
A quick-dry exterior sealant or outdoor stain works great. Pick one with UV protection if your bench sits in direct sun. It preserves color and keeps wood from drying out and cracking.
Can I customize the height or width easily?
Absolutely. The measurements I listed are a solid starting point. If you want seat height around 17-18 inches or a wider seat, adjust the side rail length and cross supports accordingly. Just remember to recalculate screws and finish time.
What if I don’t have clamps?
Clamps help, but they’re not mandatory. You can use heavy-duty rubber bands or even a couple of improvised helpers (like heavy objects holding pieces in place) while the glue sets. Just keep everything square and level.
Do I need to use pressure-treated lumber?
Not strictly, but it’s a good idea for outdoor use. If you skip pressure-treated wood, seal all faces well and keep an eye out for weathering. It’s not glamorous, but it works.
Conclusion
So there you have it: a solid, beginner-friendly outdoor bench that won’t blow your budget or your weekend. You’ll end up with a sturdy seat, a sense of accomplishment, and a go-to spot to sip coffee or chat with friends. The best part? You didn’t need a fancy toolkit or a full day of mythic carpentry skills to pull it off. IMO, this is the kind of project that proves simple plans can yield surprisingly strong results. If you give it a shot, drop a note and tell me how it went—and share photos if you’ve got them. Happy building!