How to Upgrade Builder-Grade Bathroom Mirrors with a DIY Wood Frame
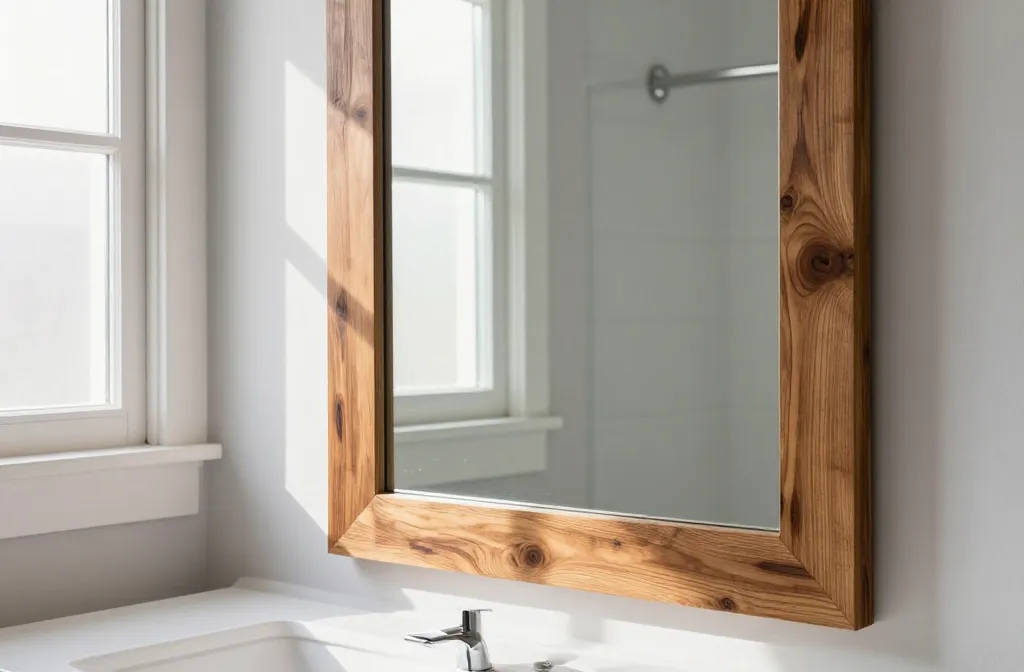
The bathroom that came with your house might be fine, but those builder-grade mirrors are a vibe-killer. Let’s fix that with a DIY wood frame that screams “you with taste” and not “rental-grade chic.” You’ll upgrade the look, stay on budget, and actually enjoy the mirror you see every morning. Ready to turn a boring reflection into a little bit of personal style?
Why a Wood Frame Makes All the Difference
A simple frame can transform a plain mirror into a feature piece. It adds warmth, character, and a hint of personality without breaking the bank. Plus, you get bragging rights for DIY-ing something that genuinely looks professional.
– Cheap can look chic: Wood frames can be as affordable or as luxe as you want.
– Customization on your terms: Pick the wood species, stain, or paint that matches your vibe.
– Simple upgrade, big payoff: No moving plumbing, no demolition. Just measurement, cuts, and a little finish.
Choosing the Right Wood and Style
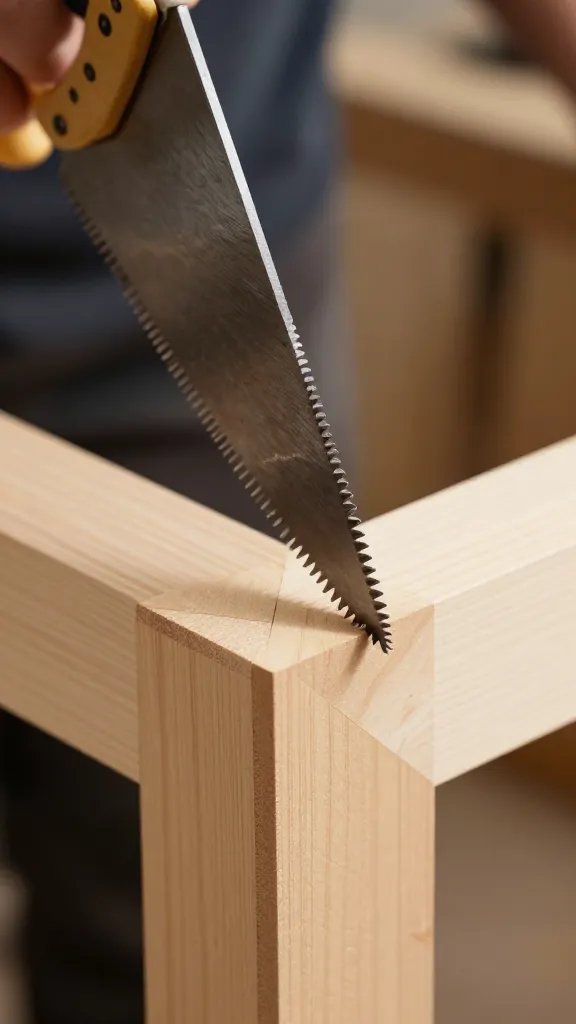
The frame should complement your bathroom and the mirror’s proportions. Think about how much weight your wall can handle and whether you want a rustic, modern, or traditional look.
Wood species that work well
– Pine: Easy to work with, affordable, takes stain well.
– Poplar: Smooth, takes paint evenly, budget-friendly.
– Oak or maple: Sturdy and classic, a bit pricier but worth it for durability.
– Reclaimed wood: Adds texture and a story—just make sure it’s sealed properly to prevent moisture issues.
Frame profiles you’ll love
– Slim flat frame: Modern and sleek, great for small bathrooms.
– Quarter-round or ovolo edge: Subtle vintage charm.
– Wide molding: Rich, statement-making, pairs with bold hardware.
– Floating frame: A contemporary twist where the frame seems to hover around the mirror.
Measuring Like a Pro (So Your Frame Actually Fits)
Accuracy saves you from the dreaded “too-small or too-big” frame fiasco. Double-check, triple-check, then measure again.
- Measure the mirror width and height from edge to edge. Note any bevels.
- Decide how much of the wall you want visible around the mirror. Common looks are 1–2 inches on each side, or a wider frame for drama.
- Plan the frame width. A 2–3 inch wide frame is sturdy and bold; 1 inch is clean and minimalist.
- Account for any hardware you’ll add (screws, cleats, or mounting clips) so nothing sits wrong.
Cutting and Crafting Your Frame
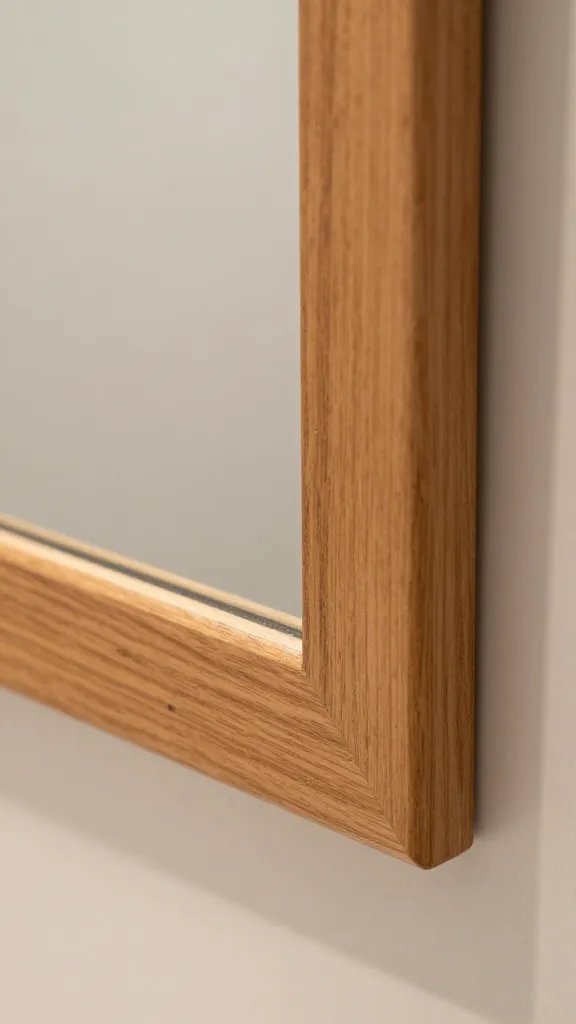
Now we get to the satisfying part: making sawdust with a purpose. Keep things steady, measured, and safe.
Tools you’ll likely need
– Miter saw or a handsaw with a square
– Tape measure and pencil
– Sandpaper (100–120 grit for initial, 220 for finish)
– Wood screws or small finishing nails
– Wood glue for extra strength
– Clamps to hold the joints tight while glue dries
Step-by-step guide
- Cut four frame pieces: two lengths for the top/bottom and two for the sides. Use 45-degree miter cuts at each end for a clean corner.
- Dry-fit the corners on a flat surface. Adjust until perfect. No gaps allowed!
- Glue the corners, then clamp tight. Let the glue cure as per product directions.
- Sand the joints smooth and flush with the mirror edge. You want a seamless look, not chunky seams.
- Optionally add a backing board to keep everything square and sturdy.
Finishes: Stain, Paint, or Natural
Your finish determines the mood. Do you want warm and rustic, or crisp and contemporary? The finish also protects against bathroom humidity.
Finishing paths
– Stain + Clear Poly: Show off the wood grain and keep it durable. Ideal for pine or oak.
– Solid color paint: Create contrast with the wall, or blend in for a minimalist look.
– Whitewash or light glaze: Adds texture without overwhelming the space.
– Sealed natural with a matte topcoat: Keeps it simple and modern.
Tips for a bathroom-friendly finish
– Use a water-based stain or paint to minimize odor and cure time.
– Apply a splash-proof topcoat (polycrylic or polyurethane) to resist steam and splashes.
– Allow ample drying time between coats; humidity can throw off the finish.
– Lightly sand between coats for a ultra-smooth finish.
Mounting the Frame: Keeping It Solid and Safe
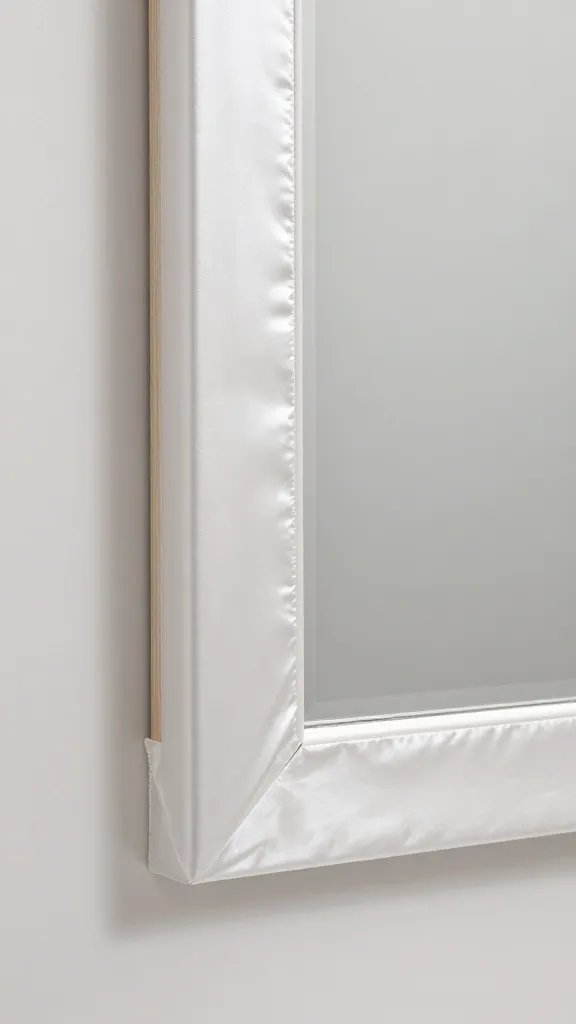
A frame is only as good as its install. You don’t want it shifting or pulling away when you brush your teeth.
Mounting options
– Direct-to-wall with picture-hanging hardware: Easy and clean.
– Frame-mounted clips: Invisible, but a bit trickier to align.
– Backing board with screws: Adds rigidity, especially for larger frames.
Step-by-step mounting plan
- Plan your mounting points. In general, use two or more points per edge, evenly spaced.
- Attach mounting hardware to the back of the frame or the backing board.
- Hold the frame in place, level, and mark the wall.
- Pre-drill holes and drive anchors if needed. Then secure with screws.
- Check the fit again and adjust as needed.
Dealing with Moisture and Maintenance
Bathrooms are humid. Your frame needs to handle the damp air without warping or peeling.
– Keep the frame away from direct water splashes when possible.
– Use a vapor barrier behind the frame if the wall is prone to moisture.
– Wipe down occasionally with a dry cloth to prevent condensation buildup.
– Refinish every few years if you notice wear or if the finish dulls.
Common Pitfalls and How to Avoid Them
Pitfall: Frame too small for the mirror
– Double-check the actual mirror dimensions, including bevels. Plan for at least 1/4 inch clearance on all sides.
Pitfall: Warping from humidity
– Use kiln-dried wood and seal the back of the frame to minimize moisture movement.
Pitfall: Uneven corners
– Take your time with miters. A good square and clamps make all the difference.
Bringing It All Together: Your Dream Frame in Steps
– Pick a style that fits your vibe and bathroom decor.
– Measure carefully and cut precisely.
– Sand, finish, and seal for humidity resistance.
– Mount securely and step back to admire your handiwork.
Optional enhancements
– Add a slim LED backlight for a modern glow around the mirror (battery-powered, low heat, safe for bathrooms).
– Attach decorative corner rosettes or plaster appliques for extra flair.
– Use distressing or weathered finishes to mirror a vintage vibe.
FAQ
Q: Do I need to remove the mirror to install the frame?
Not always. If you can access the back of the mirror safely, you can frame around it. In some cases, removing and re-mounting the mirror is cleaner, especially for heavy or large frames.
Q: How thick should the frame be?
Thicker frames (around 2–3 inches) feel substantial and look premium. If your space is small or the mirror is tall, a thinner 1-inch frame keeps things balanced.
Q: Can I use plywood or MDF for the frame?
Yep, but choose moisture-resistant MDF or plywood and seal both sides. Real wood looks nicer, but engineered options can be more budget-friendly and stable in humidity.
Q: How do I prevent the frame from staining the mirror or glass?
Protect the mirror edge with painter’s tape during finishing, and avoid finishing the edge directly against the glass. A small spacer can help you maintain a clean gap.
Q: What if I make a mistake with the finish?
Sand lightly and recoat. Lightly scuff-sand between coats. FYI, patience here pays off—rushing shows in the final result.
Conclusion
Upgrading a builder-grade bathroom mirror with a DIY wood frame is one of those projects that makes you feel like a home improvement rockstar without the drama. You pick the wood, you measure twice, you glue once, and you end up with a personalized, high-end look. It’s doable, affordable, and oh-so-satisfying to look at every morning. Ready to frame your reflection and level up your bathroom style? Let’s get to cutting, finishing, and hanging. You’ve got this.