How to Lay a Cheap Pea Gravel Patio in a Weekend (No Concrete Needed)
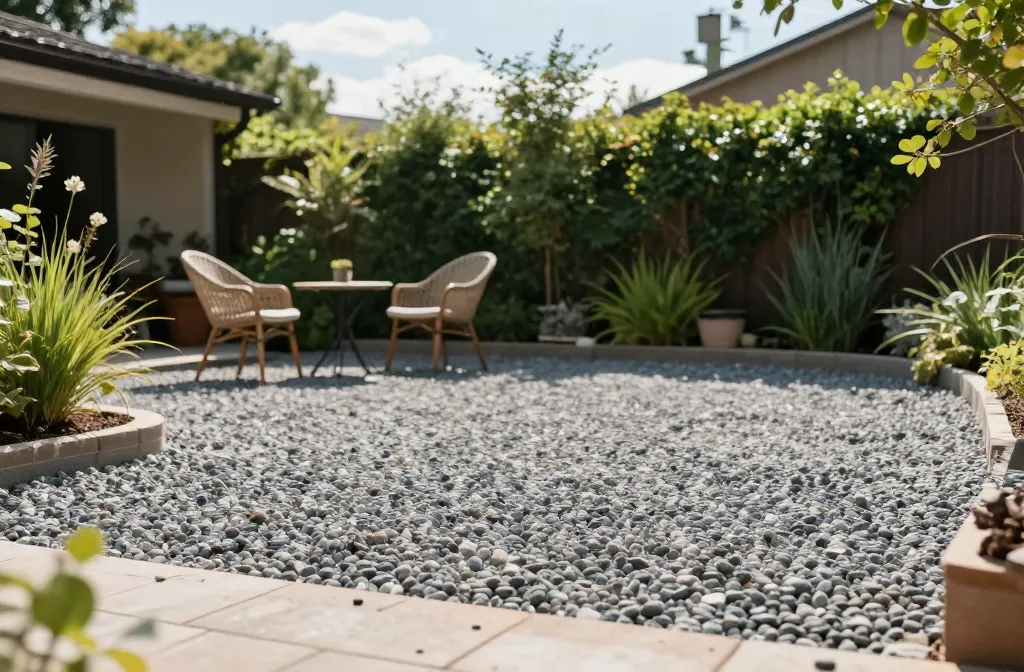
I’m about to show you how to lay a pea gravel patio that looks amazing, costs you almost nothing, and takes a weekend—no concrete required. Yes, you can transform a patch of yard into a low-maintenance outdoor hangout without hiring a crew or renting a mixer. Let’s get your hands a little dirty and your backyard a lot happier.
Why pea gravel is the MVP of cheap patios
Pea gravel is tiny, friendly on the wallet, and surprisingly versatile. It drains like a champ, feels cool underfoot, and hides a multitude of yard sins. Best of all, you can install it with a few simple tools and a weekend mindset. FYI, durability depends on proper base prep and edging, not superhero DIY skills.
Planning before you pull the first scoop
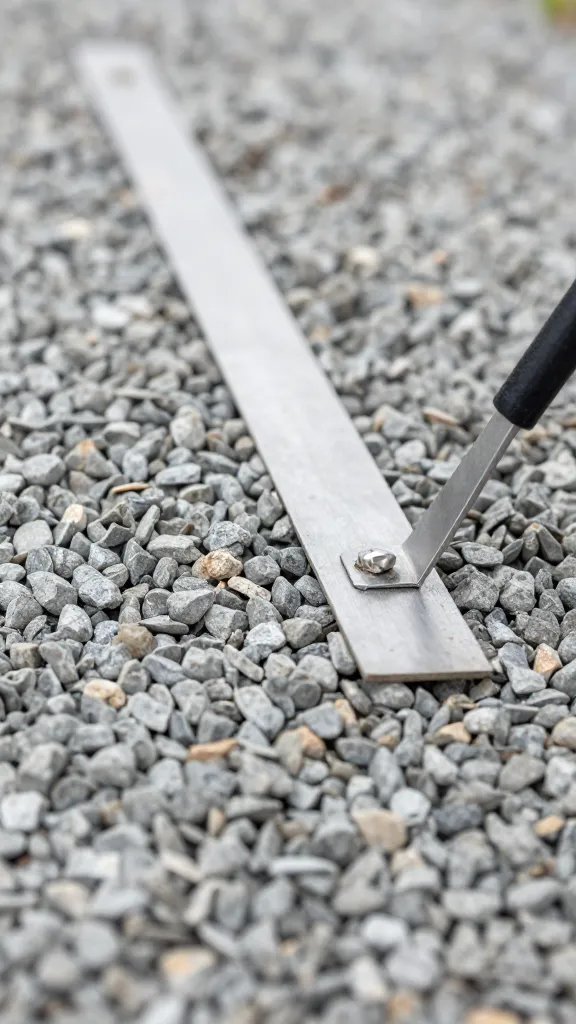
Before you grab a shovel, map out the patio like a blueprint you actually want to live with.
- Size and shape: Measure your space and decide on a simple shape. A rectangle or rounded rectangle usually keeps things sane.
- Location considerations: Check sun exposure, drainage, and proximity to doors. You don’t want muddy shoes tracking inside after a rainstorm.
- edging options: Pick a border that fits your vibe—plastic edging, metal edging, or bricks. A good edge keeps gravel contained and makes future maintenance a breeze.
- Depth matters: Aim for a base of about 4-6 inches total, with 2 inches of compacted base and 1-2 inches of pea gravel on top. If your soil is soft, go deeper.
Tools, materials, and a realistic budget
Let’s get practical. Here’s the grab-and-go shopping list and rough costs so you don’t get sticker shock.
- Materials: Pea gravel (3/8 inch or smaller), landscape fabric, edging, crushed rock or sand for the base, and optional paver stepping stones for a design twist.
- Tools: Shovel, rake, tamper or long-handled 2×4 for compacting, a rubber mallet, a utility knife, a measuring tape, and safety glasses.
- Budget tip: Pick up gravel in a few smaller bags if you’re unsure about quantity. You can always add more later, but you can’t un-buy it!
Step-by-step: turning soil into a weekend-ready patio
Here’s the heart of the process, broken down so it doesn’t feel like a scavenger hunt.
- Mark the area: Use string and stakes to outline your patio. Double-check the door clearance and any sightlines from windows.
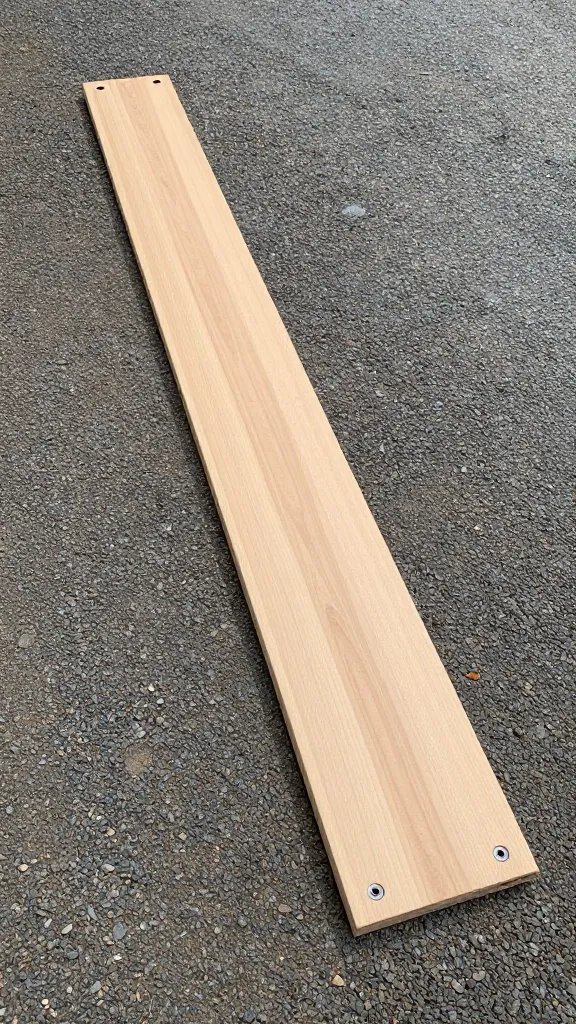
- Cut and lay edging: Install edging along the outline. Make sure it’s level and secure. This is your guardrail against wandering gravel and DIY regret.
- Remove sod and dig: Cut through the turf and remove it. Dig down to the desired depth (4-6 inches total). Break up any stubborn roots.
- Install base layer: Lay down landscape fabric to prevent weed growth. Add crushed rock or coarse sand as a base and compact it well. Check for level as you go.
- Lay the gravel: Spread pea gravel evenly, about 1.5-2 inches deep. Rake to a smooth surface. Don’t overfill; you want a comfortable stepping height.
- Finalize with stepping options: If you want a seating area or a fire pit, consider placing a few flat stepping stones or pavers registered into the gravel for style and utility.
Subsection: how to level and compact like a pro
Even if you’re a DIY rookie, you can get a surprisingly flat result.
Best practices for leveling
– Start in one corner and work outward. This reduces the chance of stepping on a still-soft base.
– Use a straight board or a long level to check high and low spots.
– Lightly mist the surface with water and rake to blend dips. Don’t flood it; pea gravel doesn’t like waterlogging.
Compact the base without tears
– A hand tamper or a rented plate compactor works wonders.
– Compact in layers: 2 inches of base, then a light mist and a quick re-check before adding the gravel.
– Leave a tiny slope away from doors to protect against puddles after rain.
Finishing touches that actually look good
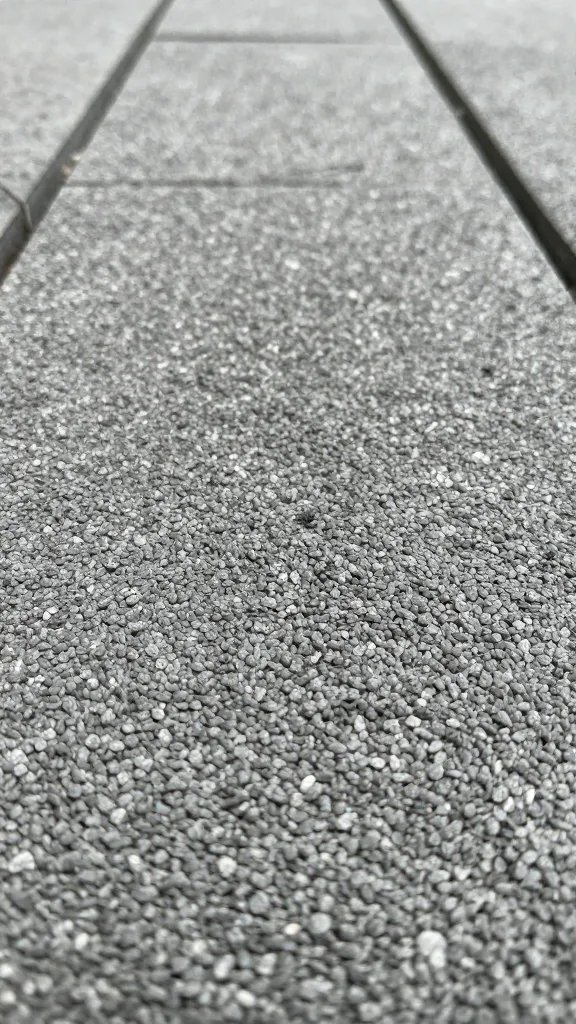
Your patio should feel pulled together, not hastily dumped in your yard.
- Weed control: A thin layer of landscape fabric under the base is usually enough. If you’re worried, lay a killer-impervious barrier and top with gravel.
- Edge styling: Collapse a small border—think brick or paver ring—to keep gravel contained and add a design pop.
- Color and vibe: Mix colors of pea gravel to create a natural gradient or go uniform for a minimalist look. FYI, darker gravel hides dirt better if you’re hosting frequent barbecues.
Maintenance tips: keep it pretty without breaking the bank
Let’s be honest: no one wants high-maintenance outdoors.
- Weed patrol: A quick weekly rake and remove any stray weeds. A yearly top-up of pea gravel is optional but nice to refresh the surface.
- Raking routine: Do a light rake every few weeks to settle the surface and keep it even. It doubles as a little stress relief.
- Rain plan: If you live in a rainy area, your base may settle more. Add a thin layer of gravel after a season to refresh the height.
Common pitfalls and how to avoid them
Every DIYer hits a snag or two. Here are the big ones and how to dodge them.
Pitfall: lazy grading
– Don’t assume a flat dirt slab will do. The ground will shift. Make a slight slope to direct water away from your doors. This saves you from a soggy patio and clenched teeth.
Pitfall: inadequate edging
– Without proper edging, gravel migrates. Invest in sturdy edging and secure it well. It pays off in the long run.
Pitfall: overcompacting
– Overcompact the base and you might end up with a rigid, uncomfortable surface. Moderately compact and test the feel with a foot.
FAQ
Q: How long does it actually take to lay pea gravel on a weekend?
Usually 8-12 hours for a modest patio, assuming you’ve prepped tools and materials. If you’re going solo, expect a full Saturday. If you’ve got a buddy or two, you can knock it out faster and still have time for a beer on the new surface.
Q: Do I need a professional for this, or is it a solid DIY?
Totally doable as a weekend DIY. The key is planning, a clear base, and proper edging. FYI, if your soil is extra wonky or you want a super-polished look, a pro can speed things up, but you’ll pay for the speed.
Q: Will pea gravel get dusty or stick to my shoes?
It can kick up a little dust in very dry weather, and shoes will collect some gravel. A simple brush-off and a quick sweep keep it tidy. If you hate dust, choose finer pea gravel and keep it topped up.
Q: How long will this patio last?
With proper base prep and edging, several years of use aren’t unusual. The gravel itself isn’t a structural material, so don’t expect it to bear heavy loads. Think lounging, not parking a truck on it.
Q: Can I add a fire pit or seating area?
Yes. Place a few stepping stones or a small ring of bricks to define the seating zone. Use larger, flat stones for a simple seating area, or a compact metal fire pit with a gravel surround to keep things cohesive.
Conclusion
You’re not just laying dirt and rocks; you’re creating a welcoming, budget-friendly outdoor space that invites birthday parties, late-night chats, and lazy Sundays. The no-concrete approach keeps things flexible: if you want to tweak the layout next season, you can. So grab your edging, shuffle your base, and give yourself a pat on the back when you step onto your brand-new pea gravel patio. IMO, your future self will thank you for the weekend you dedicated to making this happen.